R&R Dental 3D Printing Materials Equipment Settings Guide
R&R Dental 3D Printing Materials Equipment Settings Guide
3D printer settings: Ransom & Randolph 3D model resins are compatible with DLP and LCD 3D printers. Because every 3D printer, resin, and model is different, achieving the best print quality may require adjusting parameters in the slicing software. This customization ensures optimal settings for R&R resins and the requirements of the specific print. For best results, use the settings in this guide and always follow the printer manufacturer’s instructions.
Curing unit settings: to achieve the highest quality cured prints made from R&R model and castable resins, use the parameters in this document. During curing, follow the device manufacturer’s instructions.
Technical support: if you have questions about R&R 3D printing materials or need assistance or guidance, contact technical support at support@castlabsupply.pl.
Disclaimer: because the conditions and method of use of the product are beyond our control, we assume no liability and expressly disclaim all responsibility for the use of this product. The information in this document is believed to be true and accurate; however, all statements and suggestions are made without warranty, express or implied, regarding the accuracy of the information, the hazards associated with the use of the product, or the results that may be obtained. The user is responsible for compliance with applicable federal, state, and local regulations. Total liability connected with the sale and use of the product is limited to the purchase cost of the goods in question.
Table of contents
Equipment compatibility
Legend: ● – compatible, ○ – not yet compatible.
| Device / Model | R&R 3D Model Standard™ | R&R 3D Model Elite™ | P2C™ Dental Cast |
|---|---|---|---|
| Ackuretta – SOL 3D printer | ● | ● | ● |
| Ackuretta – Curie™ curing unit | ● | ● | ● |
| Asiga – Max 3D printer | ● | ● | ● |
| Asiga – Max 2 3D printer | ● | ● | ● |
| Asiga – Max X 3D printer | ● | ● | ● |
| Asiga – Ultra 3D printer | ● | ● | ● |
| Asiga – PRO 4K 3D printer | ● | ● | ● |
| Asiga – PRO 4K XL 3D printer | ● | ● | ● |
| Asiga – all other 3D printers | ● | ● | ● |
| Asiga – Flash® Curve curing unit | ● | ● | ● |
| Anycubic – Photon Mono 4K 3D printer | ● | ● | ● |
| Elegoo – Saturn 2 8K 3D printer | ● | ● | ○ |
| Phrozen – Sonic Mini 4K 3D printer | ○ | ● | ● |
| Phrozen – Sonic Mini 8K 3D printer | ● | ● | ● |
| Phrozen – Sonic Mighty 4K 3D printer | ● | ● | ● |
| Shining 3D – AccuFab-L4K 3D printer | ● | ● | ● |
| VOCO – Otoflash curing unit | ● | ● | ● |
3D printer settings
Ackuretta
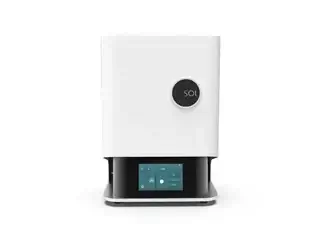 Ackuretta SOL 3D printerOfficial manufacturer material – SOL printer.
SOL printer
Manufacturer: Ackuretta
Slicing software: Alpha AI V5.1.1
Compatibility: R&R 3D Model Standard™, R&R 3D Model Elite™, P2C™ Dental Cast
Layer height: 50 µm (0,05 mm), 100 µm (0,1 mm), 150 µm (0,15 mm)
File upload: R&R 3D resins are compatible with Ackuretta slicing software (Alpha AI V5.1.1). Make sure your software is up to date.
Printing process:
- Open the Alpha AI software.
- Select the appropriate printer (Ackuretta SOL), brand (Ransom & Randolph), and the relevant resin name.
- Apply the changes shown in the settings table below.
- Follow the printer manufacturer’s instructions; for more information visit ackuretta.com.
Printer settings
| Resin | Layer thickness | Exposure time | Adjustment | Base adjustment | X scaling ratio | Y scaling ratio | Z scaling ratio |
|---|---|---|---|---|---|---|---|
| R&R 3D Model Standard | 0,07 mm | 2,10 s | 0,0 s | 0,0 s | 1,00442 | 1,00533 | 1,01391 |
| R&R 3D Model Elite | 0,07 mm | 2,60 s | 0,0 s | 0,0 s | 1,00692 | 1,00503 | 1,01762 |
| P2C Dental Cast | 0,07 mm | 1,80 s | 0,0 s | 0,0 s | 1,01294 | 1,01421 | 1,00182 |
Anycubic
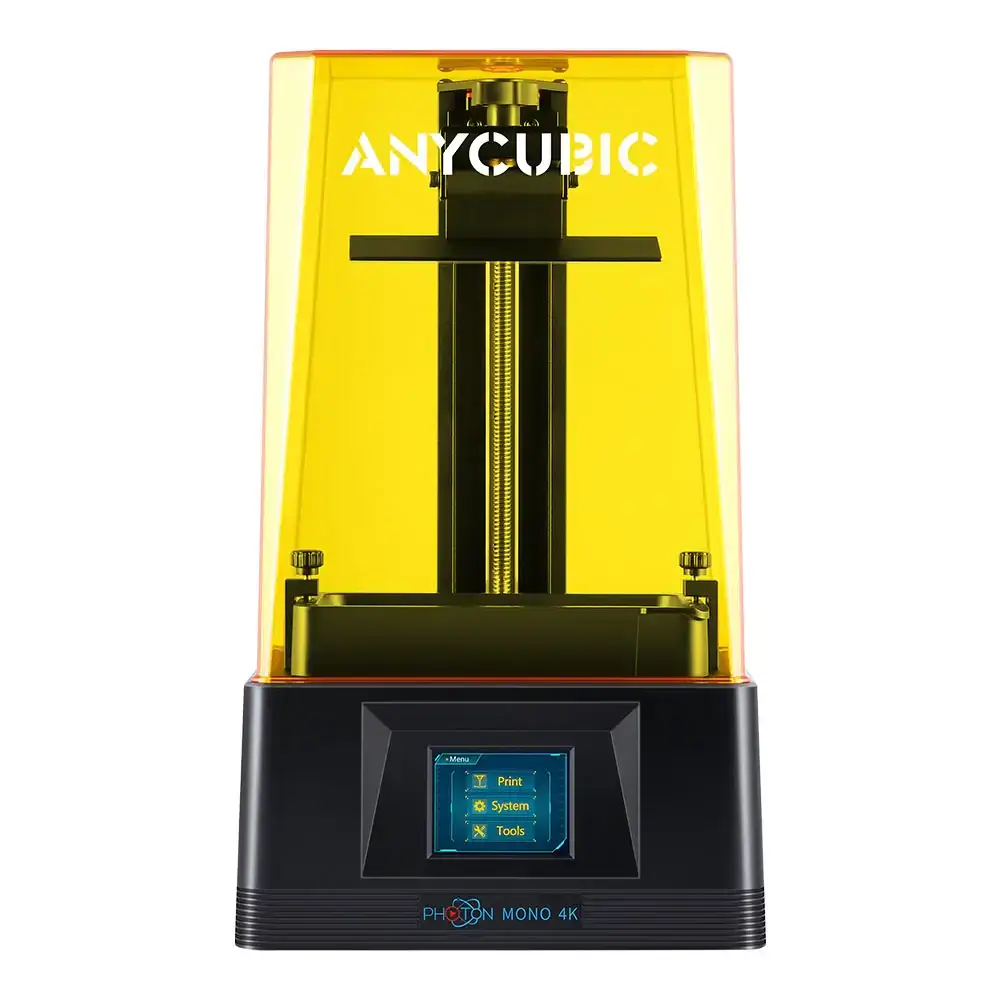 Anycubic Photon Mono 4KOfficial manufacturer image.
Photon Mono 4K printer
Manufacturer: Anycubic
Slicing software: Photon Workshop V2.2.16
Compatibility: R&R 3D Model Standard™, R&R 3D Model Elite™, P2C™ Dental Cast
Layer height: 50 µm (0,05 mm)
File upload: R&R resins are compatible with Anycubic Photon Workshop software (V2.2.16). Make sure you are using the latest version.
Printing process:
- Open the Photon Workshop software.
- Select the printer (Photon Mono 4K), brand (Ransom & Randolph), and the resin name.
- Apply the changes shown below.
- Follow the printer manufacturer’s instructions; more information at anycubic.com.
Printer settings
| Resin | Parameter | Value |
|---|---|---|
| R&R 3D Model Standard R&R 3D Model Elite | Normal exposure time | 3,200 s |
| P2C Dental Cast | Normal exposure time | 3,000 s |
Asiga
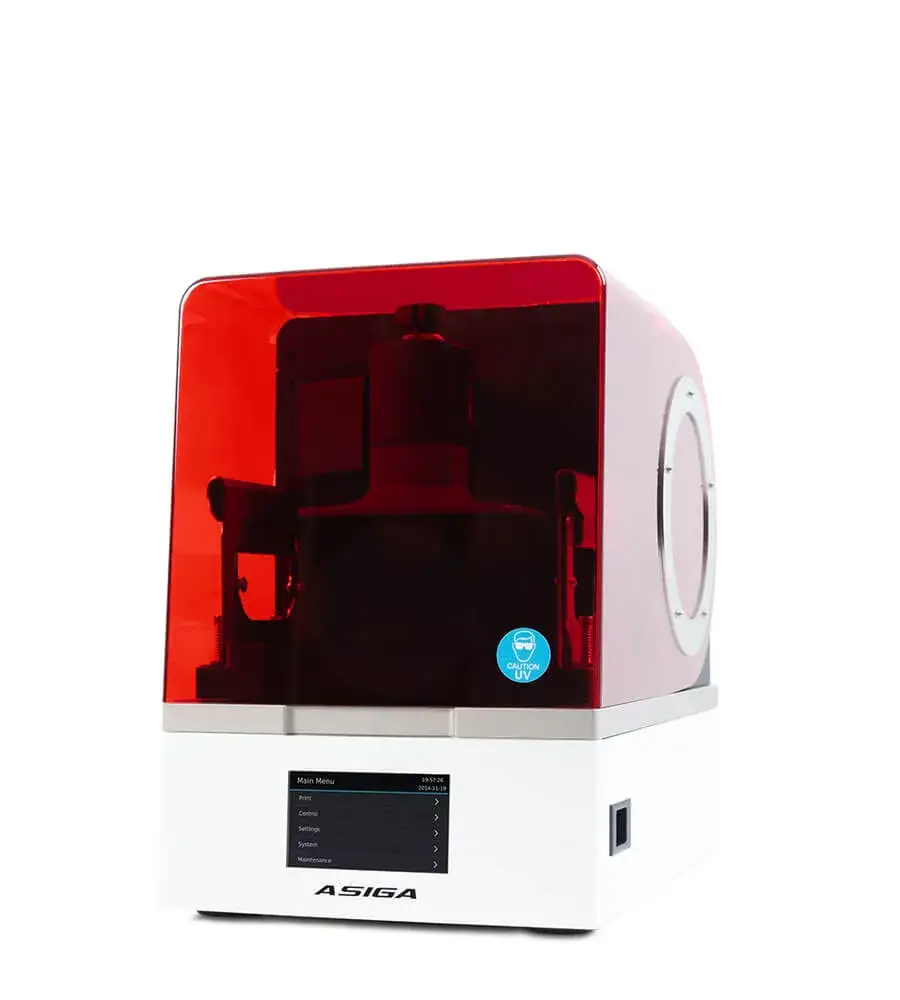 Asiga MaxOfficial manufacturer image.
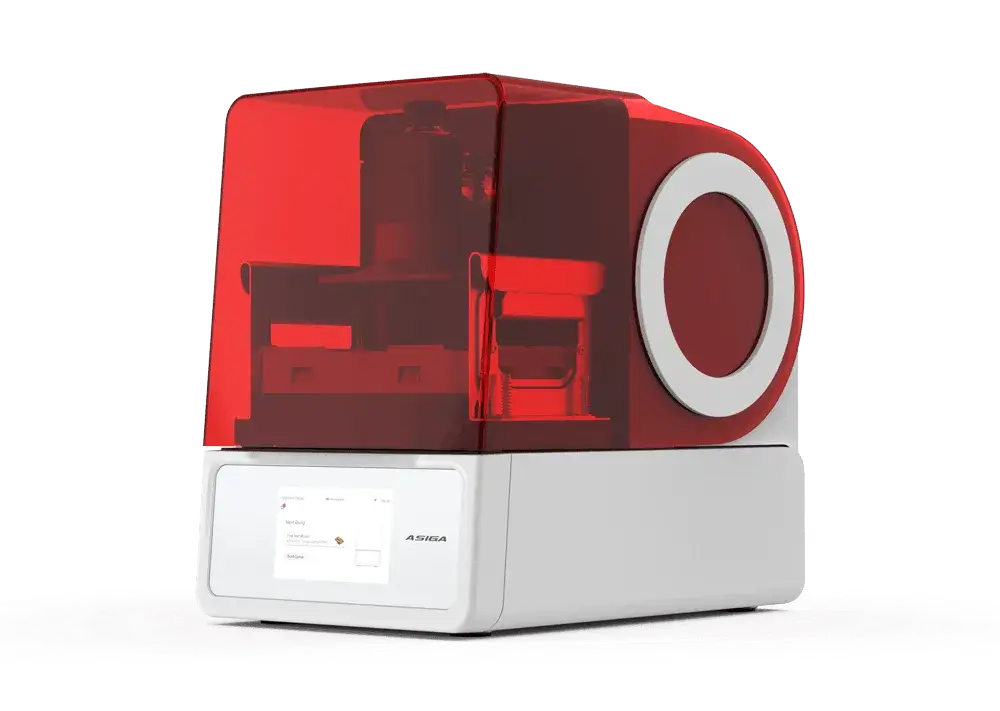 Asiga Max 2Official manufacturer image.
 Asiga Max XOfficial manufacturer image.
 Asiga UltraOfficial manufacturer image.
 Asiga PRO 4KOfficial manufacturer image.
 Asiga PRO 4K XLOfficial manufacturer image.
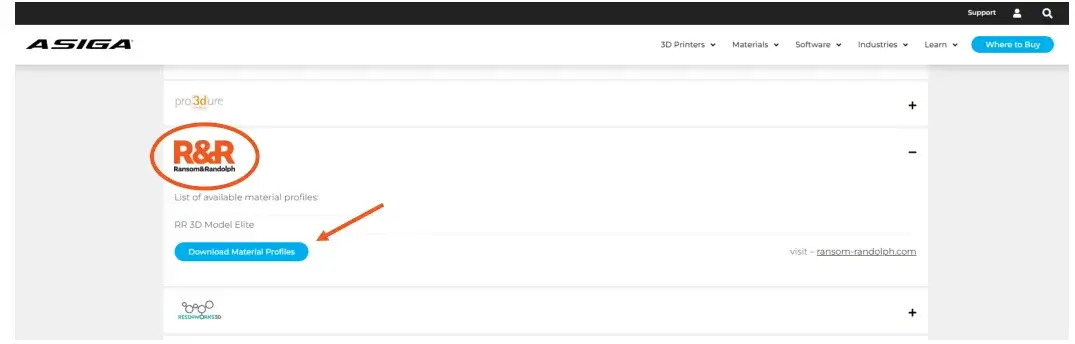
Asiga printers (Max, Max 2, Max X, Ultra, PRO 4K, and PRO 4K XL models) use Composer V 2.0 software. To download material profiles for R&R resins, visit asiga.com and go to “Materials” > “Open Material Library”, then find “Ransom & Randolph” in the vendor list. Download the .ini configuration file and import it into Composer. During use, follow the printer manufacturer’s instructions.
Elegoo
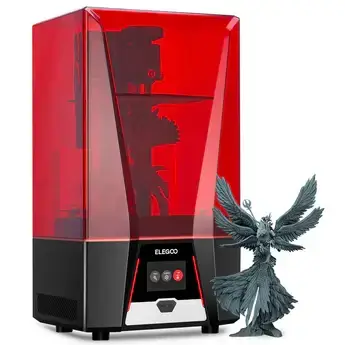 Elegoo Saturn 2 8KOfficial manufacturer image.
Saturn 2 8K printer
Manufacturer: Elegoo
Slicing software: Chitubox V1.9.6
Compatibility: R&R 3D Model Standard™, R&R 3D Model Elite™
Layer height: 50 µm (0,05 mm)
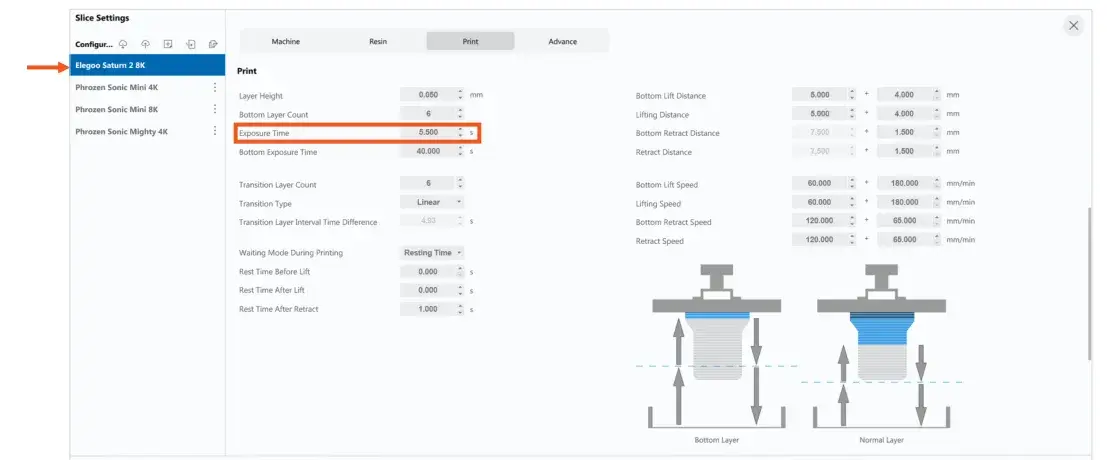
Printing process:
- Open the Chitubox software.
- Select the Saturn 2 printer (Ransom & Randolph) and the resin material.
- In the “Print” settings, make the following change: Exposure Time – set the value to 5.500 s.
- Follow the printer manufacturer’s instructions; details at elegoo.com.
Phrozen
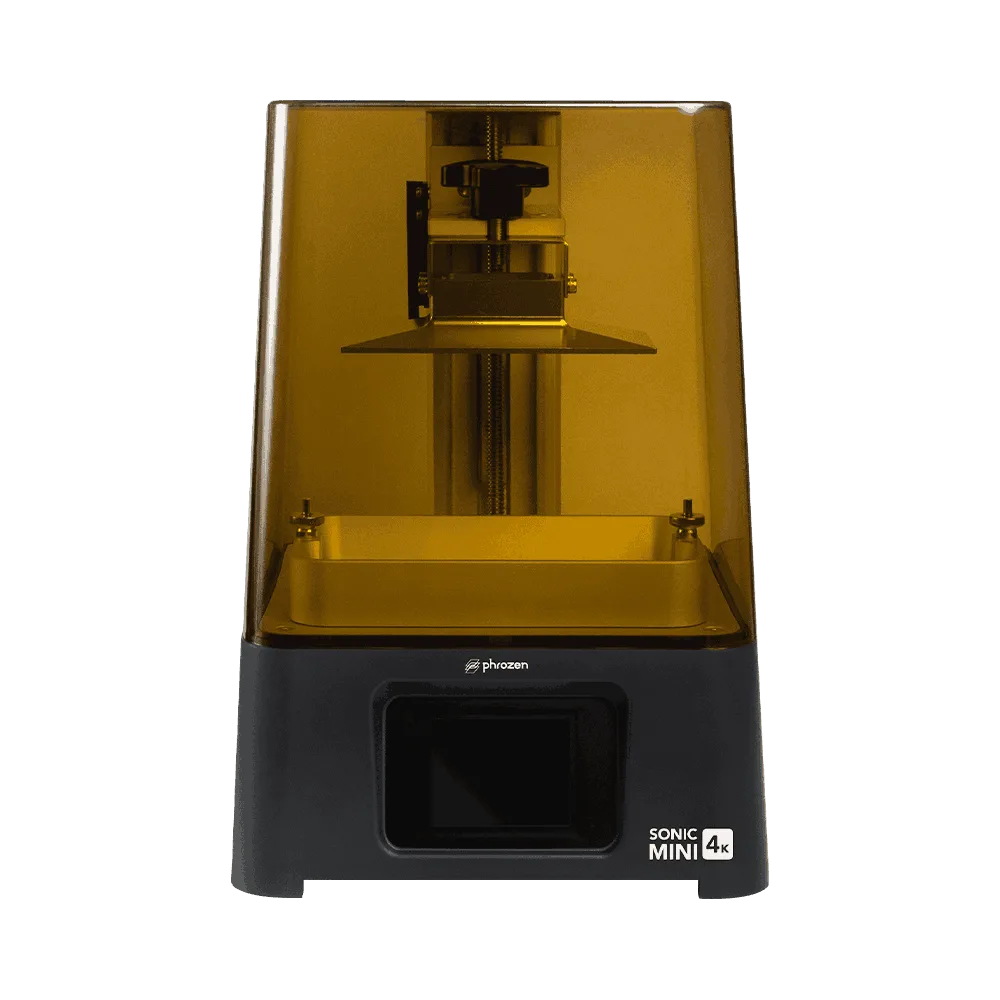 Phrozen Sonic Mini 4KOfficial manufacturer image.
 Phrozen Sonic Mini 8KOfficial manufacturer image.
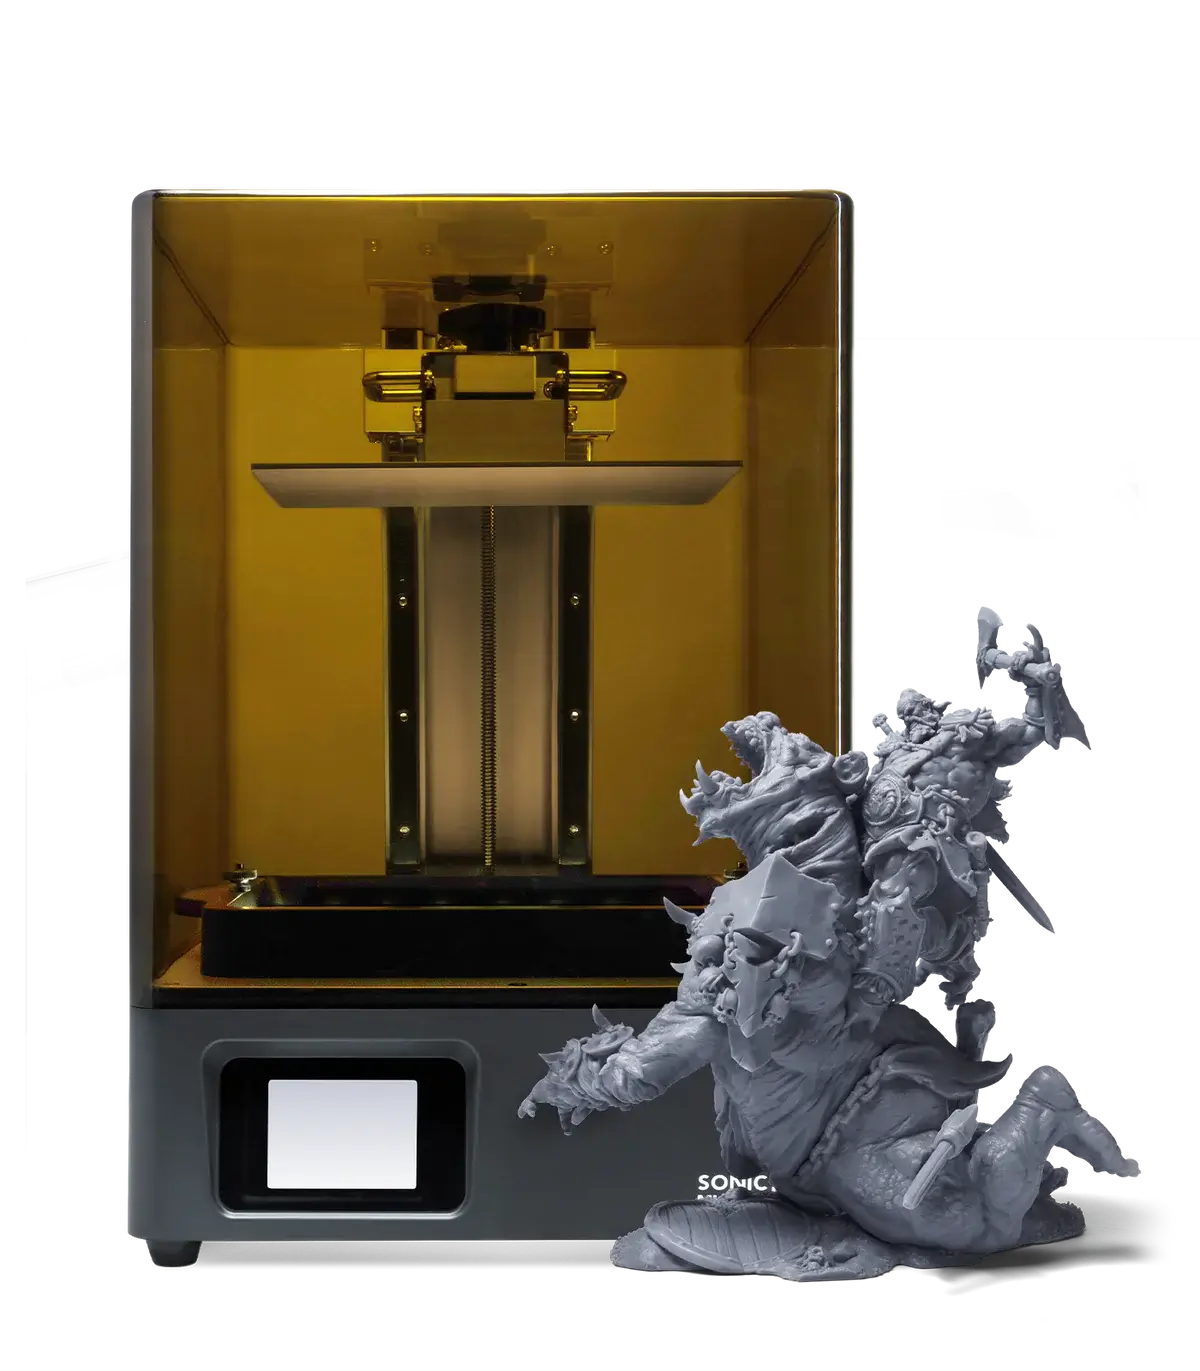 Phrozen Sonic Mighty 4KOfficial manufacturer image.
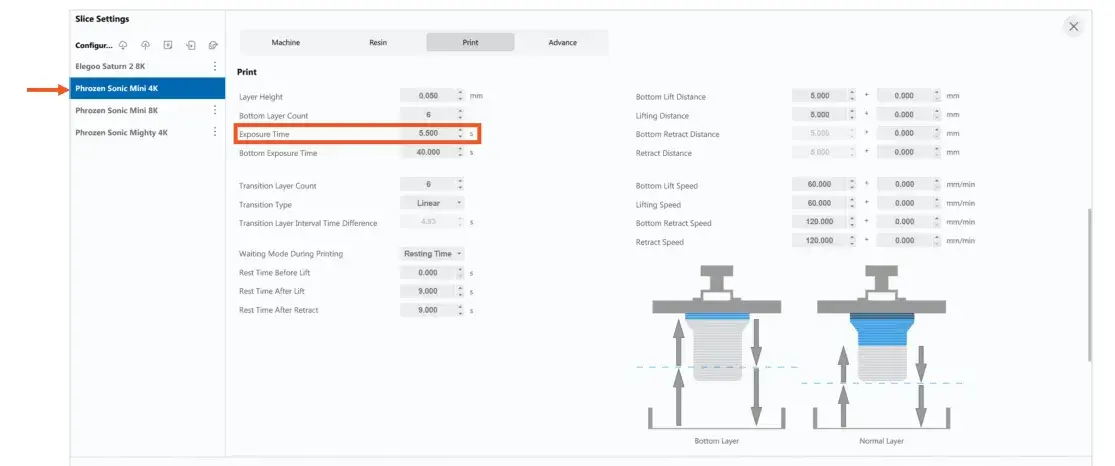
Sonic Mini 4K printer
Manufacturer: Phrozen
Slicing software: Chitubox V1.9.6
Compatibility: R&R 3D Model Elite™, P2C™ Dental Cast
Layer height: 50 µm (0,05 mm)
Printer settings:
| Resin | Exposure time |
|---|---|
| R&R 3D Model Elite | 5,500 s |
| P2C Dental Cast | 6,000 s |

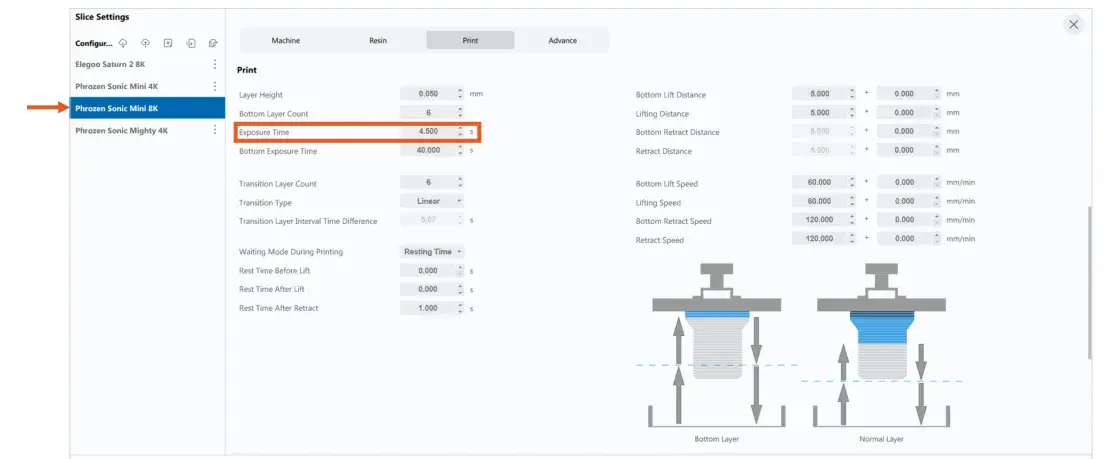
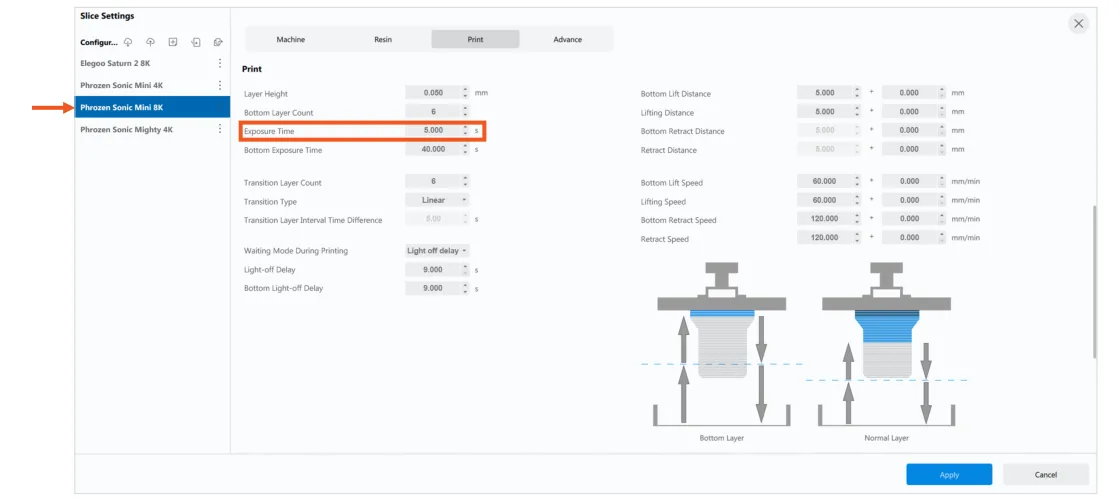
Sonic Mini 8K printer
Compatibility: R&R 3D Model Standard™, R&R 3D Model Elite™, P2C™ Dental Cast
Settings:
| Resin | Exposure time |
|---|---|
| R&R 3D Model Standard R&R 3D Model Elite | 4,500 s |
| P2C Dental Cast | 5,000 s |
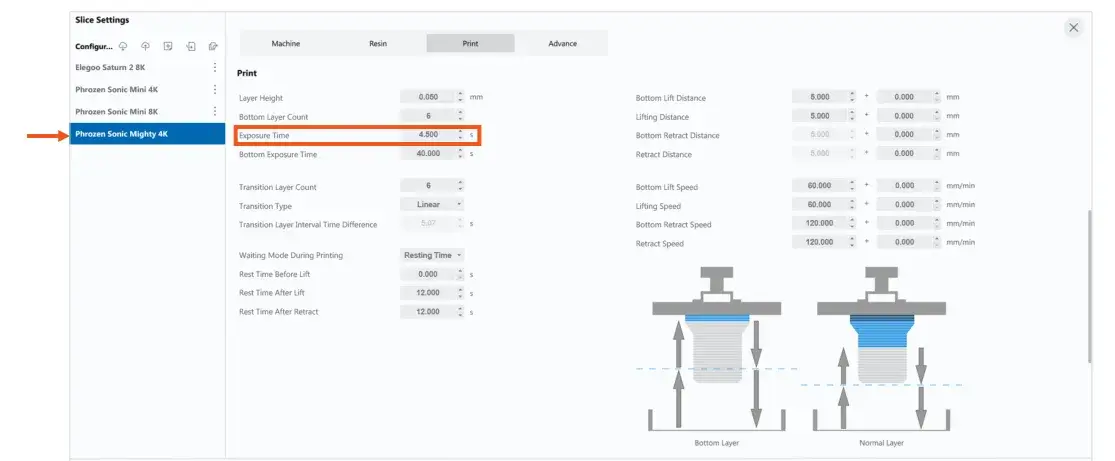
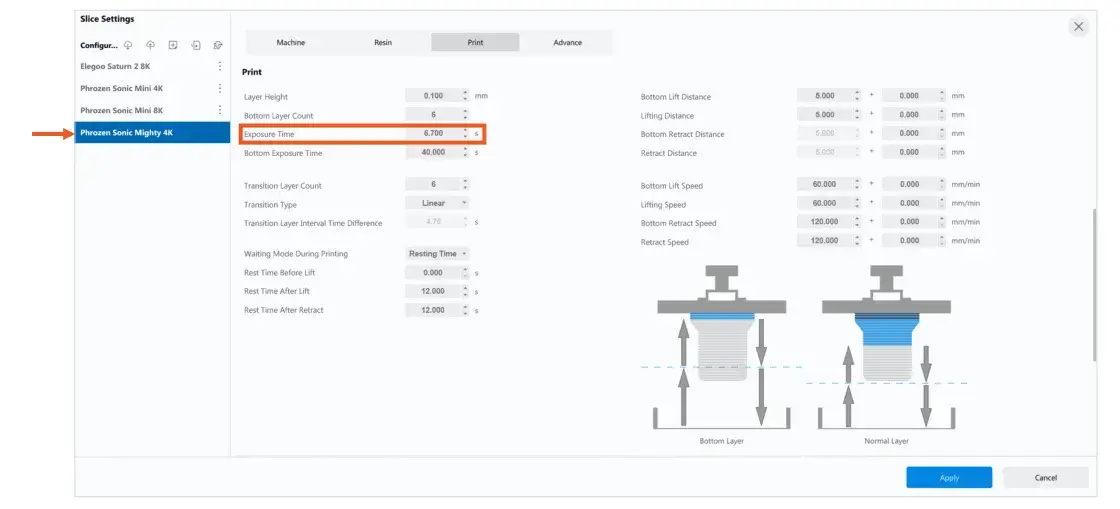
Sonic Mighty 4K printer
Compatibility: R&R 3D Model Standard™
Settings:
| Layer | Exposure time |
|---|---|
| 50 µm (0,05 mm) | 4,500 s |
| 100 µm (0,10 mm) | 6,700 s |
Shining 3D
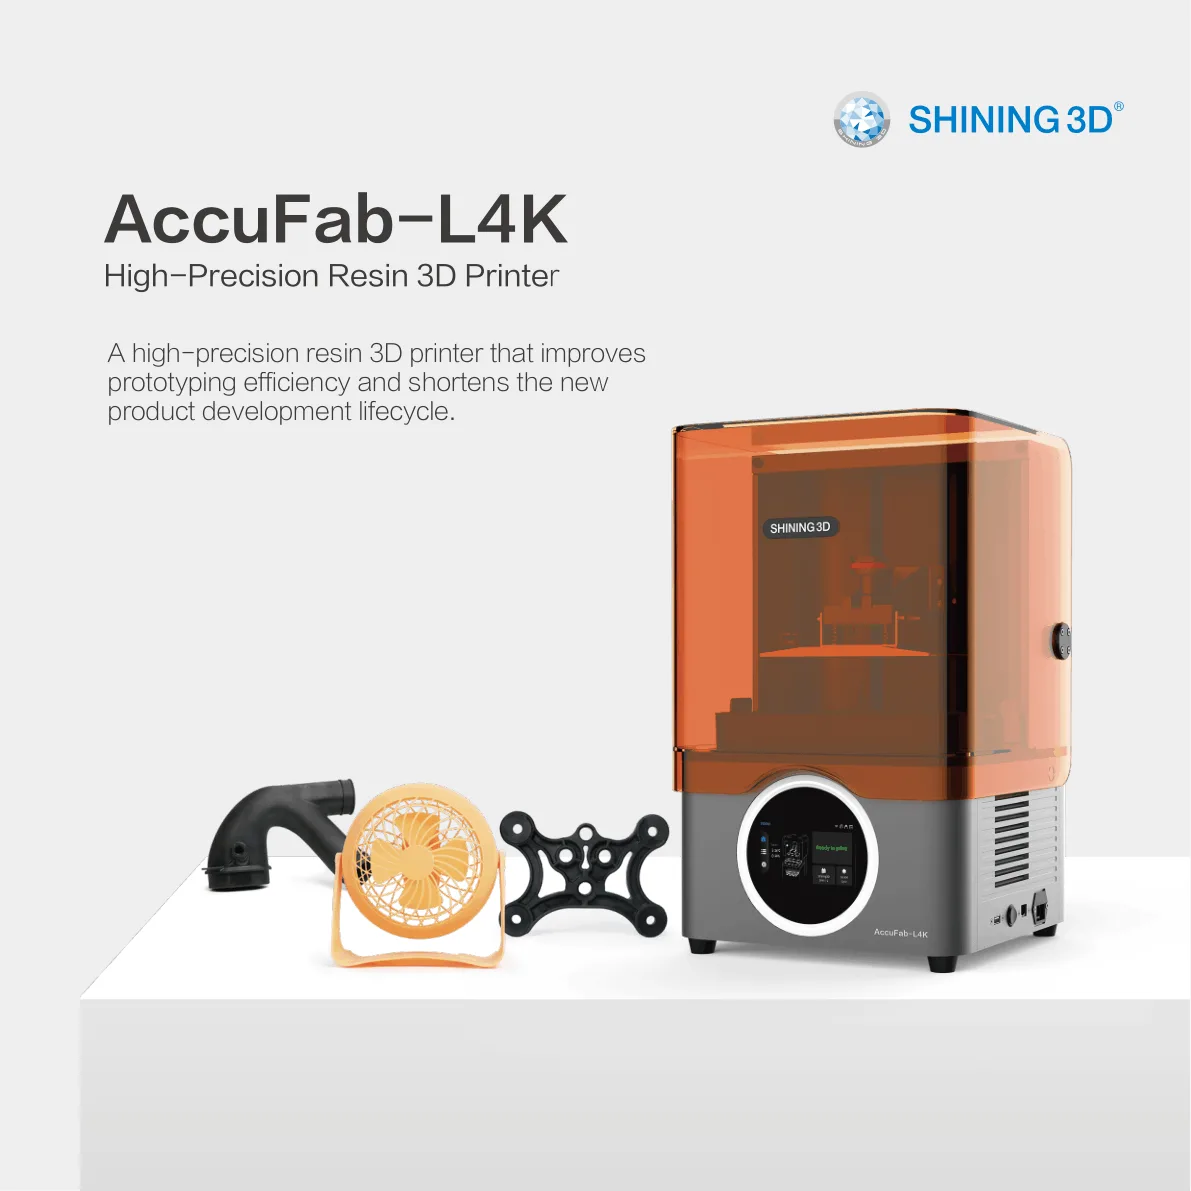 Shining 3D AccuFab-L4KRender from the official manufacturer brochure.
AccuFab-L4K printer
Manufacturer: Shining 3D
Slicing software: Accuware V3.1.8.35
Compatibility: R&R 3D Model Standard™, R&R 3D Model Elite™, P2C™ Dental Cast (50 µm layer height only)
Printing process: open Accuware, select the AccuFab-L4K printer and the appropriate layer and resin, then make the changes listed below. Follow the printer manufacturer’s instructions; more information at shining3d.com.
Settings:
| Resin | Layer thickness | Parameter | Value |
|---|---|---|---|
| R&R 3D Model Standard R&R 3D Model Elite | 50 µm | Fill Exposure Time | from 3.60 to 4.00 s |
| 50 µm | Boundary Exposure Time | from 3.60 to 4.00 s | |
| 50 µm | Z-axis return speed | from 90 to 72 mm/min | |
| R&R 3D Model Standard R&R 3D Model Elite | 100 µm | Fill Exposure Time | from 4.60 to 5.10 s |
| 100 µm | Boundary Exposure Time | from 4.60 to 5.10 s | |
| 100 µm | Z-axis return speed | from 90 to 72 mm/min | |
| P2C Dental Cast | 50 µm | Fill Exposure Time | 4,70 s |
Curing unit settings
Ackuretta – Curie
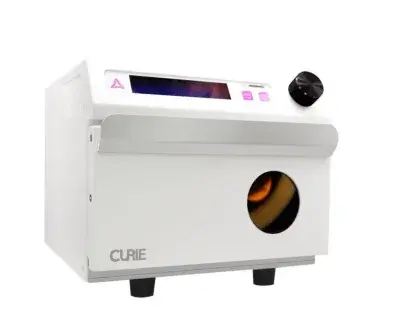 Ackuretta CurieImage of the device from the source document.
Manufacturer: Ackuretta
Compatibility: R&R 3D Model Standard™, R&R 3D Model Elite™, P2C™ Dental Cast
Curing instructions:
- Set the lamp mode to the high-power system.
- Curing time: 10 minutes.
- Follow the device manufacturer’s instructions; details at ackuretta.com.
Asiga – Flash Curve
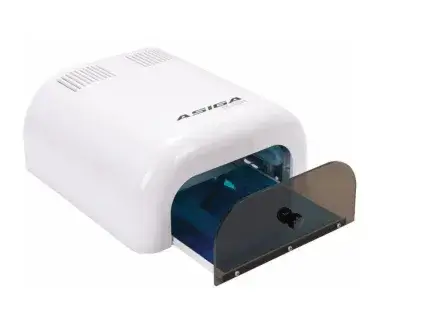 Asiga Flash CurveImage of the device from the source document.
Manufacturer: Asiga
Compatibility: R&R 3D Model Standard™, R&R 3D Model Elite™, P2C™ Dental Cast
Curing instructions:
- Set the lamp mode to the low-power system.
- Curing time: 30 minutes.
- Follow the manufacturer’s instructions; more information at asiga.com.
VOCO – OtoFlash UV
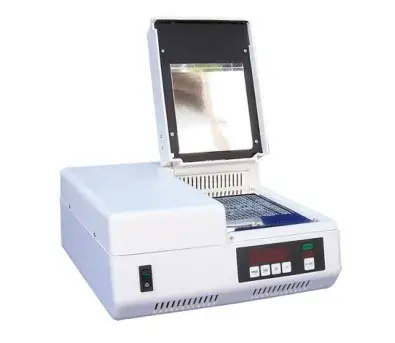 OtoFlash UVImage of the device from the source document.
Manufacturer: VOCO GmbH
Compatibility: R&R 3D Model Standard™, R&R 3D Model Elite™, P2C™ Dental Cast
Curing instructions:
- R&R 3D Model Standard / Elite: perform 2,000 flashes on each side.
- P2C Dental Cast: perform 1,000 total flashes; optionally use nitrogen (if available) for higher strength.
- During use, follow the manufacturer’s instructions; more information at voco.dental.